The Best New York-Style Cheesecake
The Best New York-Style Cheesecake
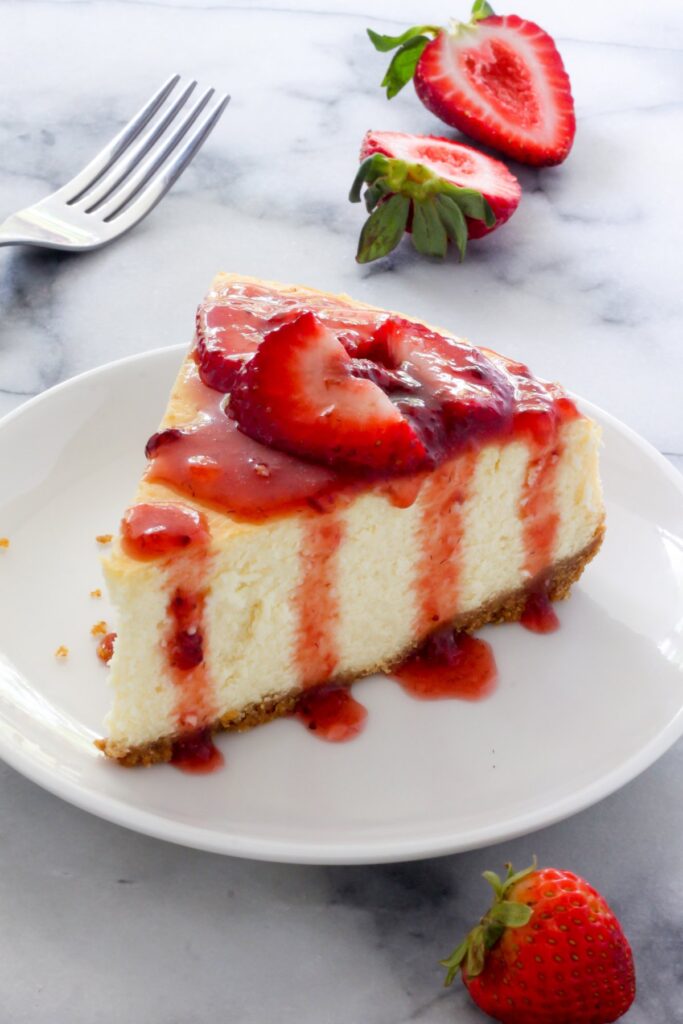
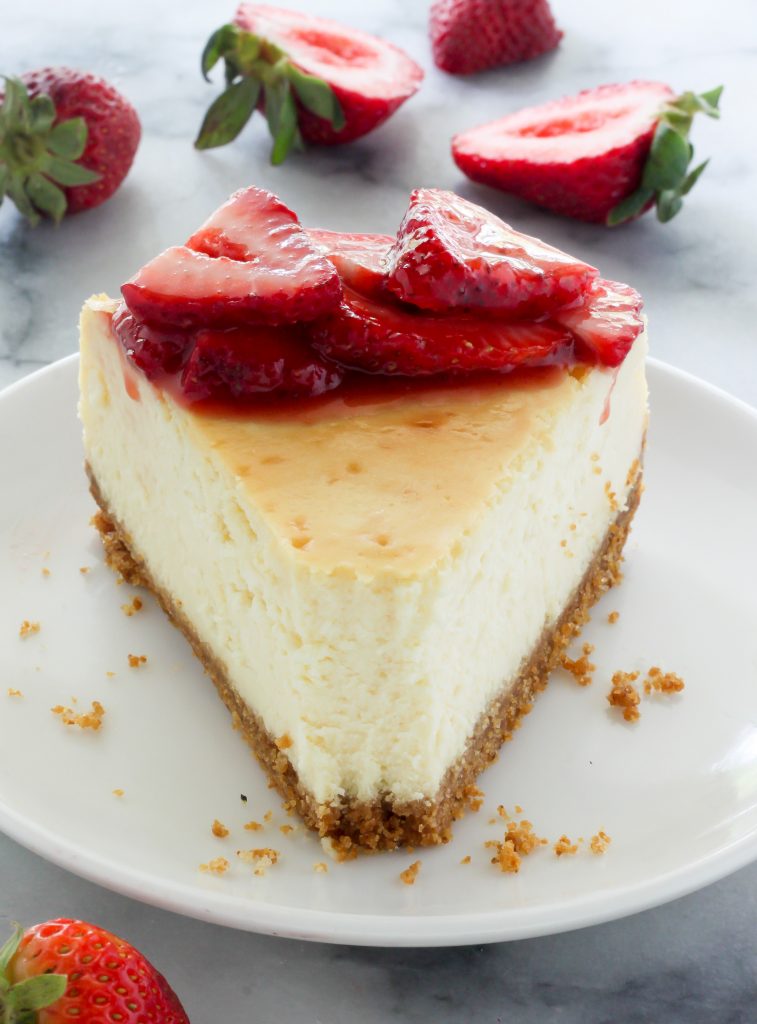
Rich and creamy, this classic New York-Style Cheesecake gets gussied up with fresh strawberry sauce. Today I’m teaching you exactly how to make this dreamy dessert at home.
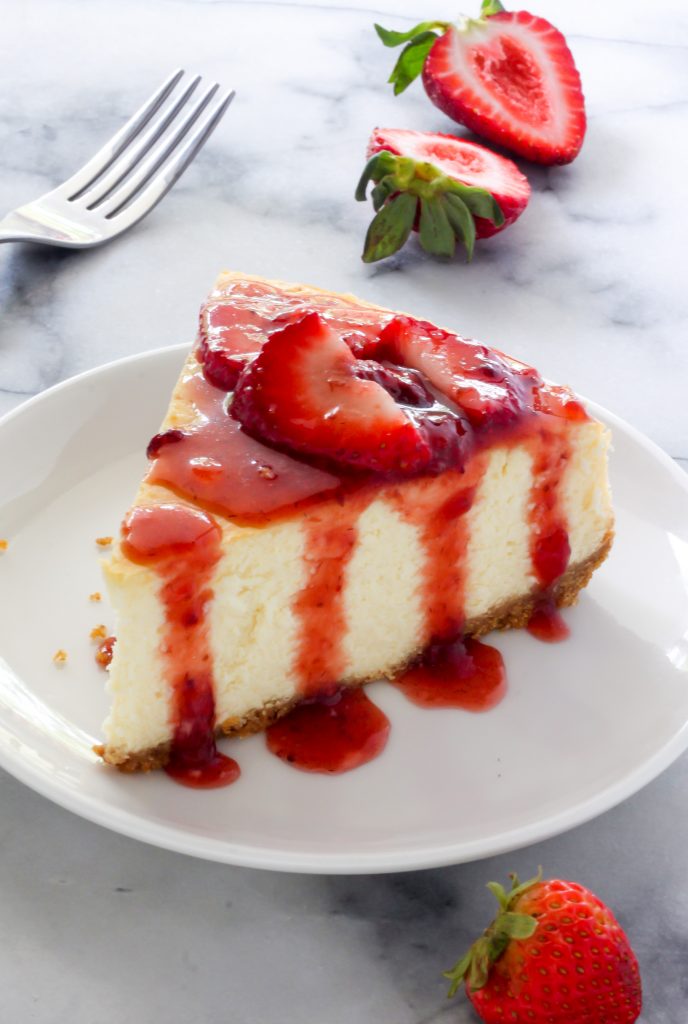
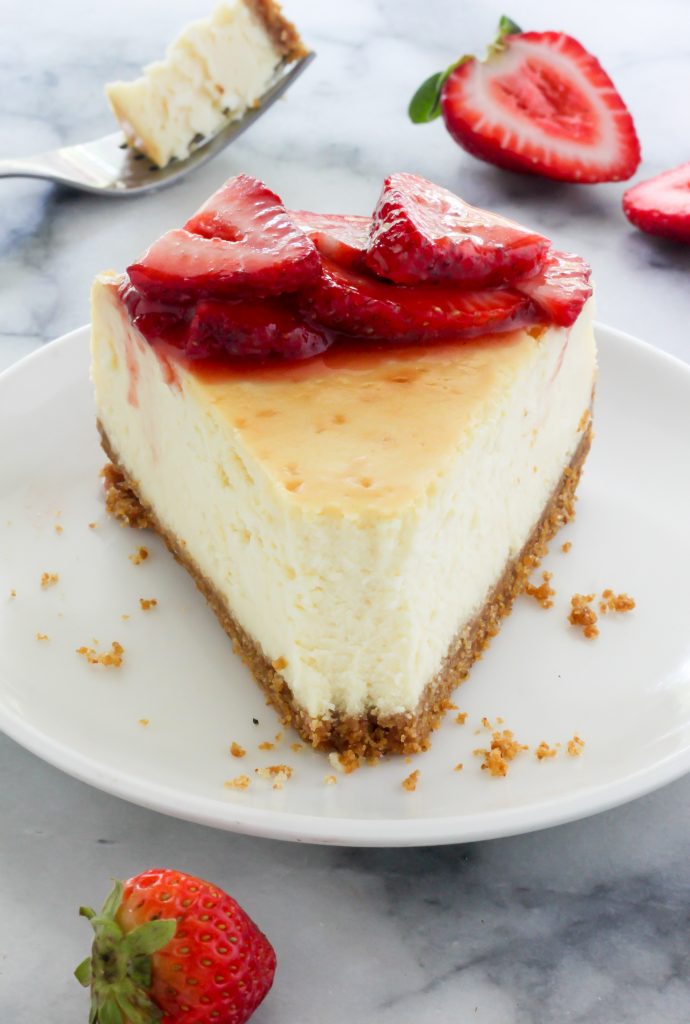 If you’re a cheesecake purist, this post is for you my friend. Yes yes —-> we’re talking classic and creamy New York-Style Cheesecake, baby. Beginning with that thick and buttery graham cracker crust you know and love; stuffed with a seriously smooth cream cheese filling; and finally – just in case you’re a more is more person (like… um, ME) – it’s topped with an optional but highly encouraged fresh strawberry sauce. Good luck resisting that second slice…
  Alright alright alriiiight.
So let’s talk about the important recipe details you need to follow to make this cheesecake dream into a REALITY. To make this easy to follow (and not too boring!), I’ve broken down the most crucial “NEED TO KNOW” details in order of how they’ll be followed in the recipe.
1) Place your cream cheese, sour cream, and eggs out on the counter top for at least one FULL hour. This step – although easy – is extremely important. Youneed your cream cheese to be verrrrry soft so that it creams easily in your blender or food processor. You’ll want the cream cheese, sour cream, and eggs to all be at the same temperature when blending, which is why it’s ideal to set them all out at the same time.
2) Before placing your graham cracker crust in the springform pan, be sure to lightly spray the entire pan with non-stick spray. You could also lightly butter the pan if you don’t have/don’t use canned sprays. Spraying the entire pan will ensure your crust and cheesecake won’t get stuck to the pan during baking.
3) When pressing the graham cracker crust down into the bottom of the springform pan, press it down very firmly. A firmly packed crust will bake up nice and thick, and most importantly, won’t crumble too much when sliced. I recommend starting to press the crumbs down in the center of the pan, then working the crust out and just a little bit up the edges. You can use the back of a spoon to do this, or wrap your hand in a piece of plastic wrap (also known as saran wrap) and do it manually.
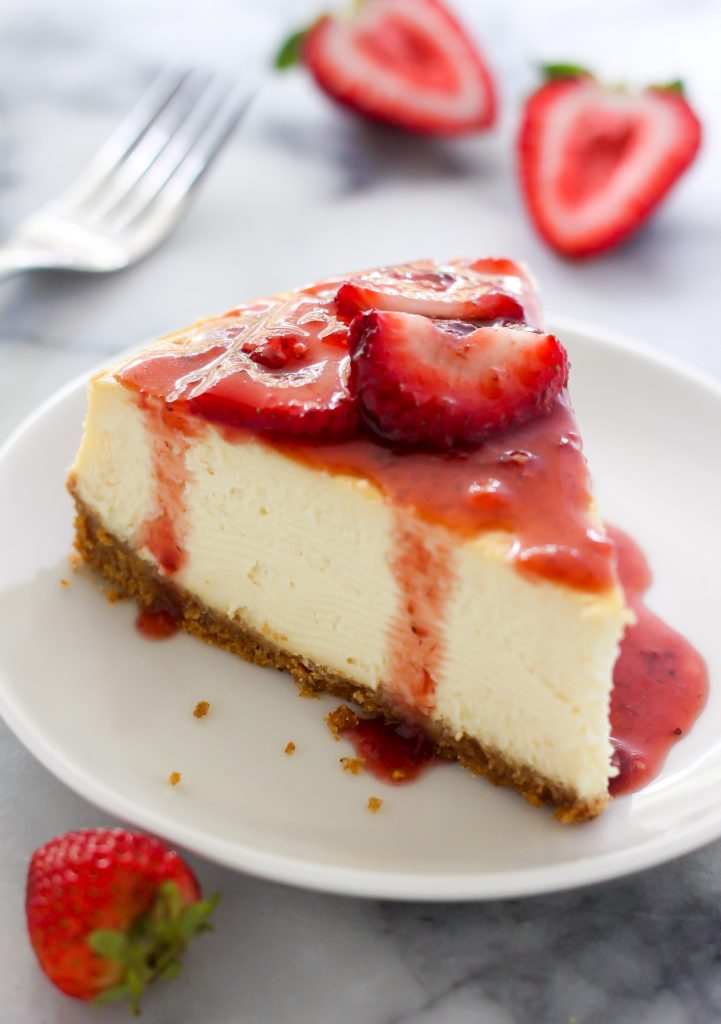 4) Before adding any of the additional ingredients to the cheesecake batter, be SURE the cream cheese and sour cream have been whipped to a completely silky smooth texture. You want to be sure that all of the lumps and bumps have been smoothed out so that the final result is utterly smooth and creamy. <—- Please pardon my overuse of the words “smooth” and “creamy” in this post 😉 But when it comes to cheesecake, those are the words we want.
5) Make a water bath. I promise; it’s not as scary as it sounds. The water bath helps the cheesecake stay nice and moist; it also ensures a crack-free pretty presentation. The best type of pan to use for a water bath is a roasting pan or any other large pan with sides at least 2 inches high. You need a pan with high edges so you can put enough water into the pan without it overflowing. The best way to prepare a water bath is to place the cheesecake into the roasting pan, place the pan into the oven, and then – very carefully – add enough hot water to reach halfway up the pan. Since this recipe uses a spring form, you’ll need to wrap the pan first with aluminum foil to prevent water from coming through the bottom – no one wants a soggy crust! Use four or five sheets of foil in a crisscross pattern for best results.
6) Lastly, be sure to set an oven timer (or even just the alarm on your phone) for the exact bake time listed below. Over baking a cheesecake is, simply put, the easiest way to ruin a cheesecake. You’ll also want to set a timer once you shut the oven off, as this cheesecake cools inside the oven once the baking is completed.
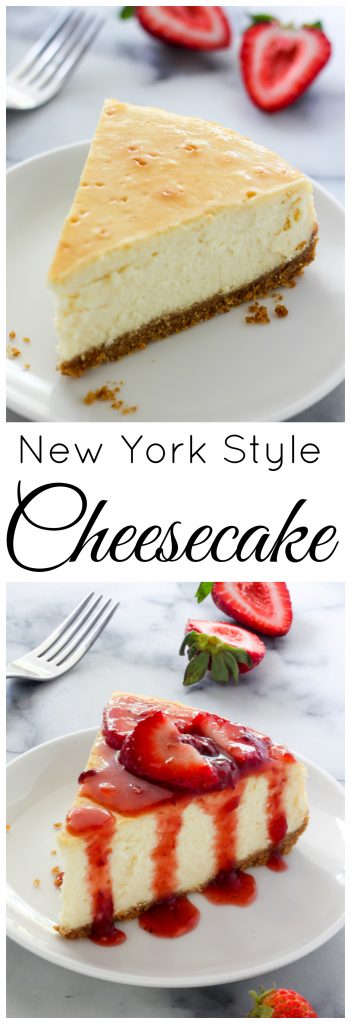
I hope those tips and tricks were helpful. Follow them, along with the recipe below, and you’ll be eating The Best New York-Style Cheesecake in no time! If you have any additional questions, just leave them in the comment section below; I’ll do my best to get back to you asap. xoxo
The Best New York-Style Cheesecake
author bakerbynature
Ingredients
For the Crust:
- 2 cups graham crackers, pulsed into crumbs
- 1/3 cup sugar
- 1/4 teaspoon salt
- 7 tablespoons butter, melted
For the New York-Style Cheesecake:
- 3 (8 ounce) packages cream cheese, very soft
- 1 cup Full-Fat Sour Cream
- 1 1/4 cups granulated sugar
- 2 teaspoons pure vanilla extract
- 3 large eggs + 2 egg yolks, at room temperature
- 3 tablespoons all-purpose flour
- 1/2 cup heavy cream
For the Fresh Strawberry Sauce:
- 1 1/2 cups fresh strawberries, hulled and sliced
- 1/4 cup sugar
- 1 small lemon, zested
Instructions
- Preheat oven to 325 degrees (F).
- For the Crust:
- Lightly spray a 9" springform pan with non-stick spray; set aside.
- In the body of a blender or food processor combine graham crackers, sugar, and salt; blend until the crackers have been completely pulsed to crumbs. Add melted butter; stir well to combine. Press down firmly into the prepared 9-inch springform pan; set aside.
- For the New York-Style Cheesecake Filling:
- In the body of a high power blender, food processor, stand mixer fitted with the whisk attachment, or in a large bowl using a hand held mixer, beat the softened cream cheese and sour cream until completely smooth.
- Add sugar and vanilla; beat until smooth, scraping down the sides and bottom of bowl as needed. Add in the eggs and yolks; beat until smooth. Stir in the flour, mixing just until combined.
- Quickly stir in the cream, mixing just until it's incorporated in the batter.
- Pour filling into prepared crust, and spread evenly.
- Wrap the bottom of the pan in tin foil (I recommend doing a few diligent layers here; no one wants a wet crust).
- Place the cheesecake pan into a large, deep pan. Fill the pan up with hot water half way. This is your water bath and will help ensure your cheesecake comes out crack free.
- Place pan in the oven and cook cheesecake for 1 hour and 25 minutes. Turn oven off and let the cheesecake sit, undisturbed, for 55 minutes inside the oven with the door shut. The cheesecake should be still slightly wiggly.
- Remove cake from oven, run a knife very gently around the edge of the cake, and let it sit in the pan for 15 more minutes before covering loosely with plastic wrap and refrigerating for at least 6 hours. When ready to serve, top with a dollop of whipped cream or fresh strawberry sauce and enjoy!
- For the Fresh Strawberry Sauce:
- Process 1 1/4 cups of strawberries, sugar and lemon zest in a food processor or blender until smooth. Transfer mixture to a medium-sized bowl, stir in remaining sliced strawberries, and chill for at least 1 hour before serving.
more recipes @ https://bakerbynature.com
BERITA LENGKAP DI HALAMAN BERIKUTNYA
Halaman Berikutnya


